Installing phpMyAdmin
In this tutorial we will set up a phpMyAdmin instance with Ajenti V.
Prerequisites: Ajenti V (NGINX, MySQL, PHP packages), mysql, php5-mysql
Download and unpack phpMyAdmin distribution into
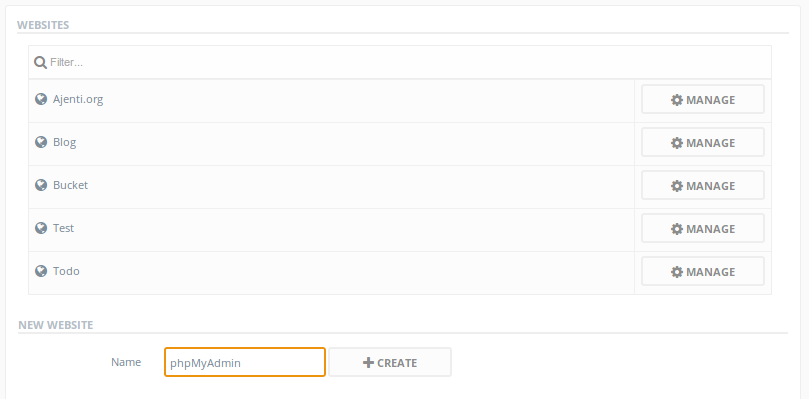
Navigate to Ajenti panel, and open Websites section. Create and name a new website, and click Manage.
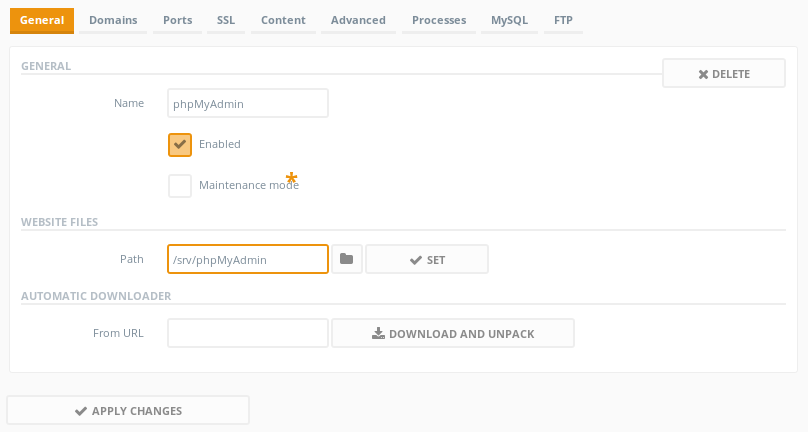
On General tab, disable Maintenance mode and set the website path.
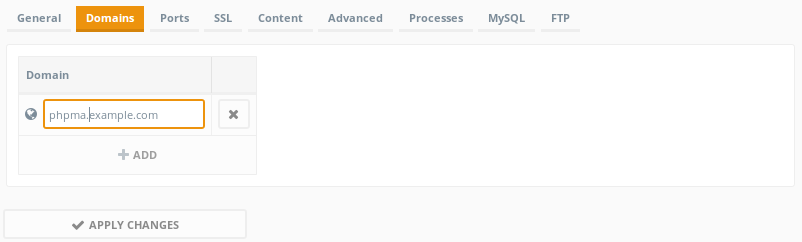
Set your domain on the Domains tab.
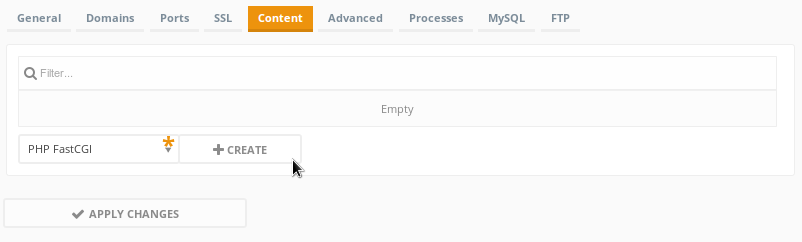
On the Content tab, create a new Content entry of type PHP.
Click Apply Changes and wait for the web server to restart.
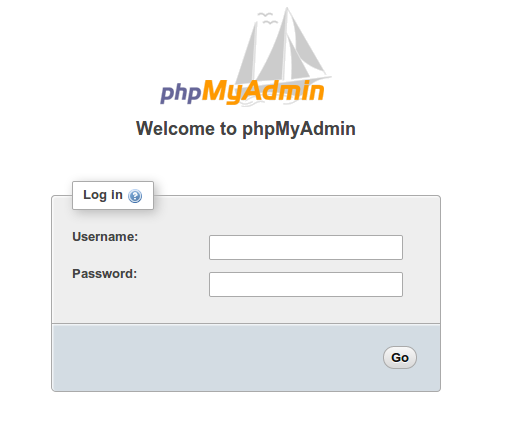
Navigate to the domain you have used, in this case http://phpma.example.com/
Prerequisites: Ajenti V (NGINX, MySQL, PHP packages), mysql, php5-mysql
Download and unpack phpMyAdmin distribution into
/srv/phpMyAdminNavigate to Ajenti panel, and open Websites section. Create and name a new website, and click Manage.
On General tab, disable Maintenance mode and set the website path.
Set your domain on the Domains tab.
On the Content tab, create a new Content entry of type PHP.
Click Apply Changes and wait for the web server to restart.
Navigate to the domain you have used, in this case http://phpma.example.com/
Служба підтримки клієнтів працює на UserEcho
