Setting up a Rails website with Ajenti V (Redmine example)
In this tutorial we will set up a Ruby on Rails website with Ajenti V, using Redmine as example.
Prerequisites: Ajenti V (NGINX and Puma packages), Ruby, Gem, Bundler
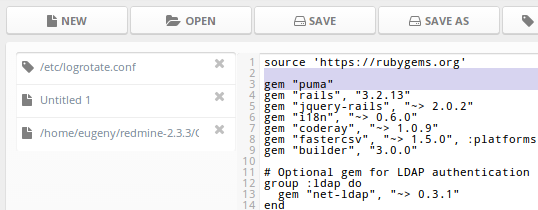
1. Add gem "puma" to the Gemfile
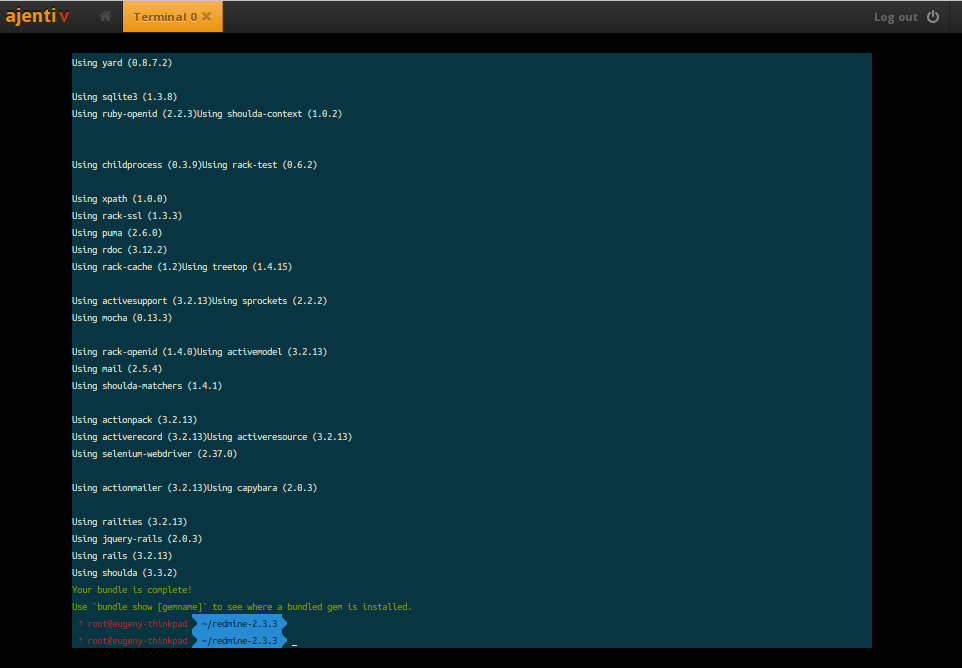
2. Run bundle in the app directory
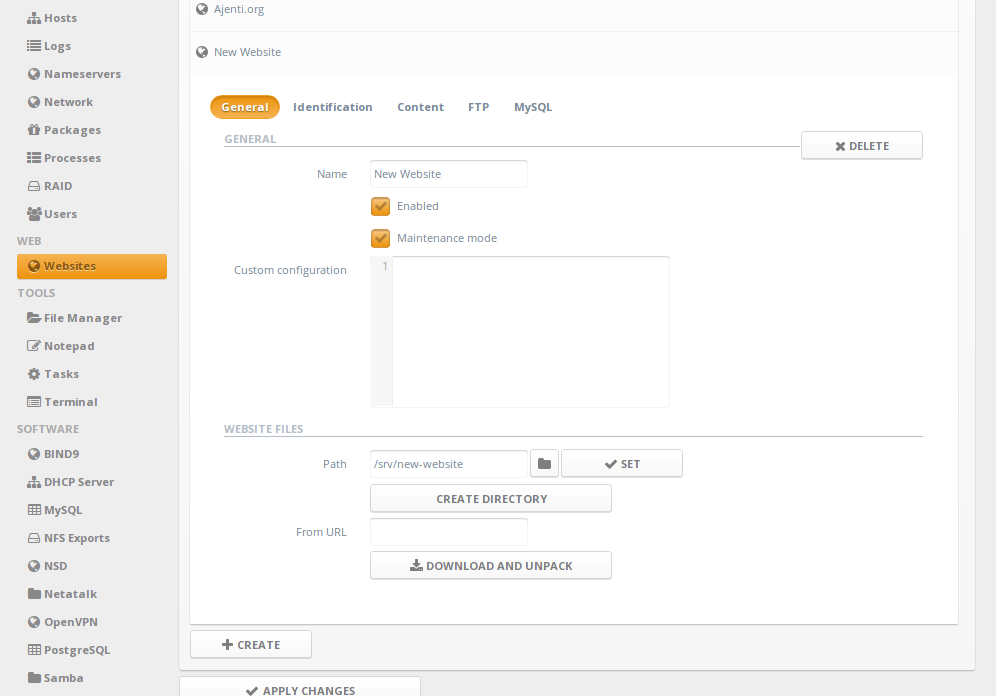
3. Navigate to Ajenti panel, and open Websites section. Click Create button, and expand newly created New Website entry.
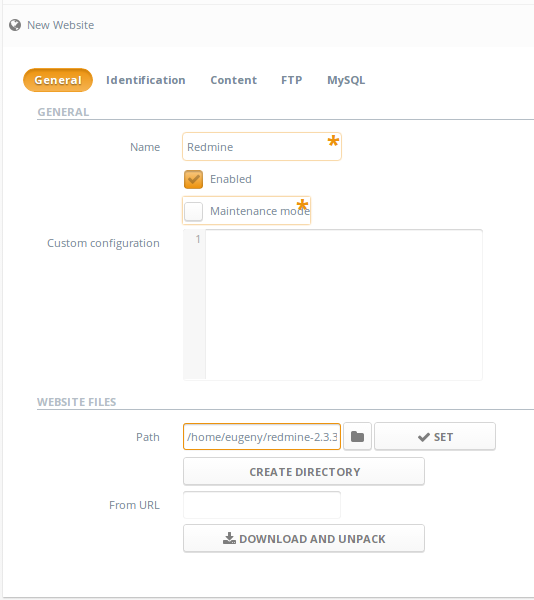
2. Uncheck Maintenance mode checkbox, set Name to "Redmine", and Path to the path containing Redmine files, for example, "/home/eugeny/redmine-2.3.3/".
3. Under Identification page, Create and set a domain entry.

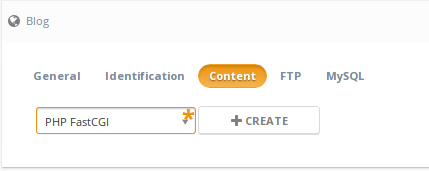
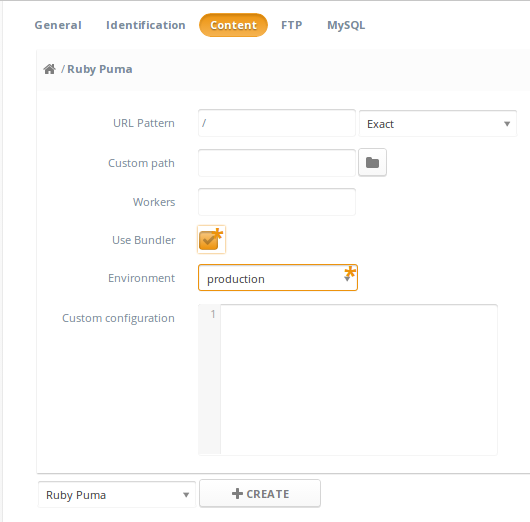
4. Under Content page, Create a new content entry of type Ruby Puma. Check Use Bundler and select appropriate Rails environment
5. Click Apply changes
6. Done! Now navigate to http://domain/ to use your website.
Prerequisites: Ajenti V (NGINX and Puma packages), Ruby, Gem, Bundler
1. Add gem "puma" to the Gemfile
2. Run bundle in the app directory
3. Navigate to Ajenti panel, and open Websites section. Click Create button, and expand newly created New Website entry.
2. Uncheck Maintenance mode checkbox, set Name to "Redmine", and Path to the path containing Redmine files, for example, "/home/eugeny/redmine-2.3.3/".
3. Under Identification page, Create and set a domain entry.
4. Under Content page, Create a new content entry of type Ruby Puma. Check Use Bundler and select appropriate Rails environment
5. Click Apply changes
6. Done! Now navigate to http://domain/ to use your website.
Customer support service by UserEcho
