Setting up a PHP website with Ajenti V (Wordpress example)
In this tutorial we will set up a PHP website with Ajenti V, using Wordpress as example.
Prerequisites: Ajenti V (NGINX, MySQL, PHP packages), php-fpm, mysql, php5-mysql
1. Navigate to Ajenti panel, and open Websites section. Click Create button, and expand newly created New Website entry.
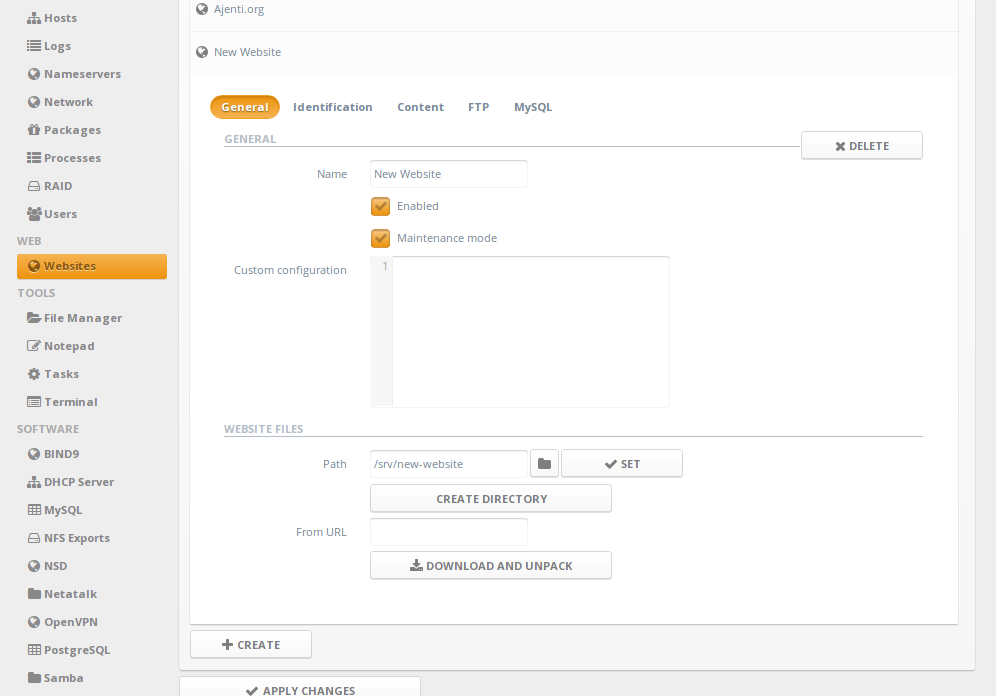
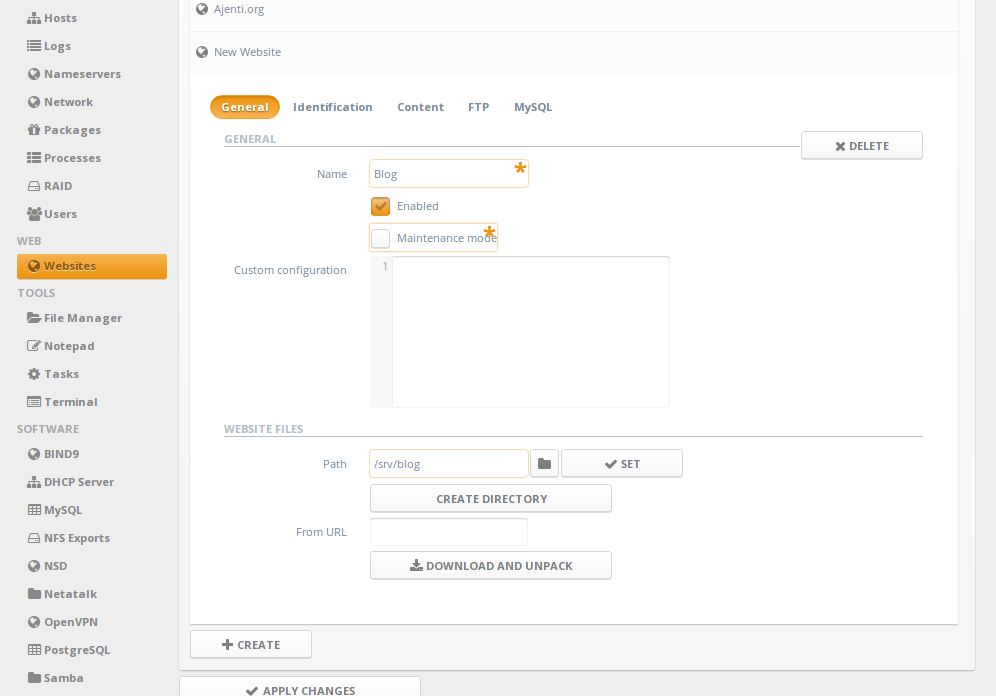
2. Uncheck Maintenance mode checkbox, set Name to "Blog", and Path to, for example, "/srv/blog", and click Create directory to create this directory on server.
2a. Add following to Custom configuration:
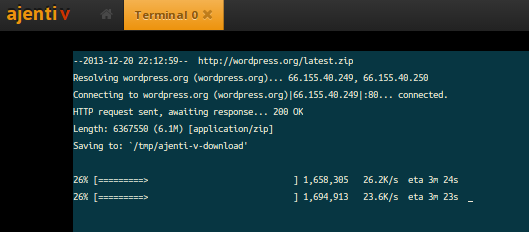
3b. Automatically downloading wordpress files: Input http://wordpress.org/latest.zip into From URL textbox and click Download and unpack. You will see the download and unpacking process take place. Once complete, close the terminal tab. Then (important!), use File Manager to move files from /srv/blog/wordpress/ to /srv/blog itself.
4. Under Identification page, Create and set a domain entry.

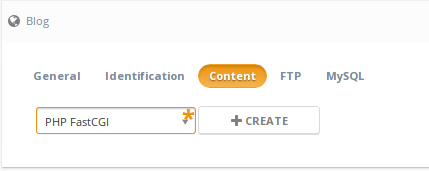
5. Under Content page, Create a new content entry of type PHP.
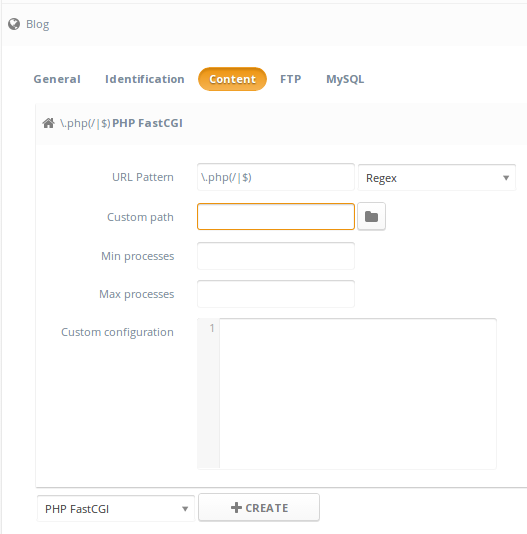
5a. For enhanced security, add following to Custom configuration:
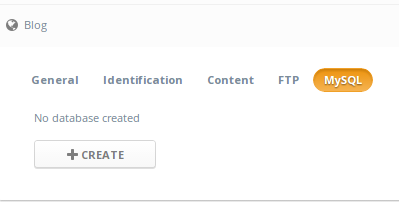
6. Under MySQL page, click Create to create a database
7. Click Apply changes
8. Done! Now navigate to http://domain/ and use the DB name, username and password from MySQL page to set up your Wordpress installation.
Install the “Nginx Helper” plugin to prevent all of your URLs from starting with index.php/
Thanks to Myles McNamara for contributing to this guide!
Prerequisites: Ajenti V (NGINX, MySQL, PHP packages), php-fpm, mysql, php5-mysql
1. Navigate to Ajenti panel, and open Websites section. Click Create button, and expand newly created New Website entry.
2. Uncheck Maintenance mode checkbox, set Name to "Blog", and Path to, for example, "/srv/blog", and click Create directory to create this directory on server.
2a. Add following to Custom configuration:
# This order might seem weird - this is attempted to match last if rules below fail.
location / {
	try_files $uri $uri/ /index.php?$args;
}

# Add trailing slash to */wp-admin requests.
rewrite /wp-admin$ $scheme://$host$uri/ permanent;

# Directives to send expires headers and turn off 404 error logging.
location ~* ^.+\.(ogg|ogv|svg|svgz|eot|otf|woff|mp4|ttf|rss|atom|jpg|jpeg|gif|png|ico|zip|tgz|gz|rar|bz2|doc|xls|exe|ppt|tar|mid|midi|wav|bmp|rtf)$ {
       access_log off; log_not_found off; expires max;
}

location = /favicon.ico {
	log_not_found off;
	access_log off;
}
location = /robots.txt {
	allow all;
	log_not_found off;
	access_log off;
}
2b. For enhanced security, add following to the Custom configuration:# Deny all attempts to access hidden files such as .htaccess, .htpasswd, .DS_Store (Mac).
# Keep logging the requests to parse later (or to pass to firewall utilities such as fail2ban)
location ~ /\. {
deny all;
}
# Deny access to any files with a .php extension in the uploads directory
# Works in sub-directory installs and also in multisite network
# Keep logging the requests to parse later (or to pass to firewall utilities such as fail2ban)
location ~* /(?:uploads|files)/.*\.php$ {
deny all;
}3a: Manually placing wordpress files: place wordpress files into /srv/blog3b. Automatically downloading wordpress files: Input http://wordpress.org/latest.zip into From URL textbox and click Download and unpack. You will see the download and unpacking process take place. Once complete, close the terminal tab. Then (important!), use File Manager to move files from /srv/blog/wordpress/ to /srv/blog itself.
4. Under Identification page, Create and set a domain entry.
5. Under Content page, Create a new content entry of type PHP.
5a. For enhanced security, add following to Custom configuration:
# Zero-day exploit defense.
# http://forum.nginx.org/read.php?2,88845,page=3
# Won't work properly (404 error) if the file is not stored on this server, which is entirely possible with php-fpm/php-fcgi.
# Comment the 'try_files' line out if you set up php-fpm/php-fcgi on another machine.  And then cross your fingers that you won't get hacked.
try_files $uri =404;
fastcgi_split_path_info ^(.+\.php)(/.+)$;
6. Under MySQL page, click Create to create a database
7. Click Apply changes
8. Done! Now navigate to http://domain/ and use the DB name, username and password from MySQL page to set up your Wordpress installation.
Install the “Nginx Helper” plugin to prevent all of your URLs from starting with index.php/
Thanks to Myles McNamara for contributing to this guide!
Служба підтримки клієнтів працює на UserEcho
